The High-Detail Guide: How to Deep Clean Your Ceiling Fans and Light Fixtures
Ceiling fans and light fixtures are often the most overlooked areas in the home, yet they collect dust, grime, and insects quickly. This accumulation doesn't just look unsightly, it can also reduce air quality and can diminish the brightness of your lighting.
This detailed guide covers everything from safe dust removal to guaranteeing a crystal-clear, streak-free finish. Follow these steps to significantly improve your home's air quality and shine.
Part 1: Cleaning Ceiling Fans (The No-Mess Method)
The professional goal when cleaning a ceiling fan is to remove all dust and grime without allowing it to rain down onto your furniture, bedding, or floors.
Materials Required:
A stepladder (stable and secure)
Microfiber cleaning cloth(s)
A clean pillowcase (or large cloth bag)
All-purpose cleaning spray (non-aerosol)
The Protocol: Step-by-Step
Step 1: Safety First and Dust Containment
Power Off: Always ensure the fan and light are completely powered off at the wall switch or, ideally, at the breaker panel.
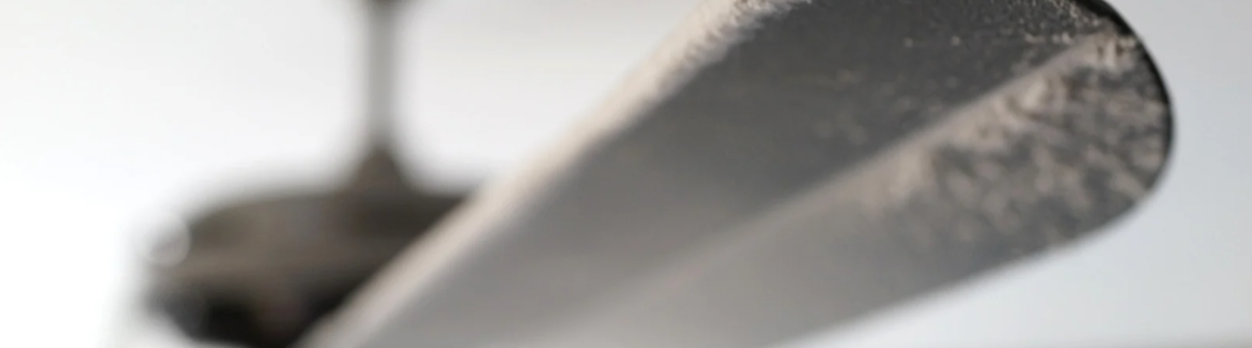
The Pillowcase Method: Climb the ladder and place a clean pillowcase over a single fan blade. Draw the pillowcase slowly back toward you, allowing the interior of the case to capture the dust from the top and bottom of the blade simultaneously.
Repeat: Repeat this process for every fan blade, turning the pillowcase inside out or moving to a clean section of the bag for each blade to prevent transferring dust.
Step 2: Detail the Motor Housing
Use a dry, clean microfiber cloth to gently dust the exterior of the motor housing. Avoid spraying liquids directly onto the housing, as moisture can damage internal components or wiring.
For any sticky residue, lightly dampen a corner of your cloth with an all-purpose cleaner and gently wipe the exterior surface.
H2: Part 2: The Deep Clean Protocol for Light Fixtures
Light fixtures require careful attention due to delicate glass and the importance of a streak-free appearance once illuminated.
Step 1: Safe Disassembly
Power Down: Confirm the fixture is powered off at the wall switch.
Remove the Cover: Gently unscrew or unclip the glass or plastic fixture cover (globe, bowl, or dome).
Remove Bulbs: Carefully twist and remove all light bulbs. Lay them aside on a safe surface. This prevents getting cleaning solution on the bulbs and allows you to clean the entire fixture properly.
Step 2: The Soapy Water Wash
This washing step is essential for removing the often-invisible film of cooking residue, dust, and microscopic debris that clings to the covers.
Prep: Fill a sink or bucket with warm water and a small amount of non-abrasive dish soap.
Washing: Submerge the glass or plastic covers fully in the soapy water. Use a soft sponge or microfiber cloth to gently scrub away grime, paying special attention to the edges where debris accumulates.
Rinsing: Rinse the covers thoroughly under clean, running water to remove every trace of soap residue. Soap residue will cause streaks when the light is turned back on.
Step 3: Streak-Free Drying (The Essential Tip)
Forgetting this step is the most common DIY mistake. Allowing glass covers to air-dry naturally will almost always result in visible water spots and streaks, especially if you have hard water.
Wipe: Immediately dry the covers completely using a clean, lint-free microfiber cloth or a polishing cloth.
Avoid Air-Drying Glass: While plastic components can air-dry, immediate, thorough hand-drying of glass is the only way to guarantee a truly professional, streak-free finish when the light is turned on.
Step 4: Final Reassembly
Wipe Fixture Base: Before reattaching, gently wipe the interior and exterior of the fixture base (the part attached to the ceiling) with a dry microfiber cloth to remove any final dust.
Install Bulbs: Screw the clean bulbs back into their sockets.
Reattach Cover: Gently reattach the clean, dry fixture cover, ensuring it is secure but not overtightened (to prevent cracking the glass).
Test: Restore power at the wall switch to verify the lights work and the job is complete.
Ready for Professional Detail?
Executing this high-detail protocol throughout your entire home can be time-consuming, but the results, cleaner air and brighter light, are worth it.
If you love the idea of a professionally executed clean but prefer to save your time, Kosmos Cleaning provides the same precision and commitment to detail for every fixture in your home. We proudly serve homeowners across the Greensboro, Burlington, and High Point areas, covering the entire Triad region.